Showing posts with label hair accessories. Show all posts

Sunday, December 4, 2011

Poinsettia Headband

I went to a Christmas party on Friday night. And, I wanted something festive to wear. I wore a green sweater (because of course my clothing must color-coordinate with the Christmas theme!) and decided to make myself a festive poinsettia headpiece.  (Note:  I'm obviously not wearing a green sweater in the below picture. You think I had time to make a headband AND photograph it right before the party?)

And yes, I did make it right before the party.  Like, the babysitter is arriving and I'm still hot-gluing.

I pretty much made it up as I went, comparing it occasionally to the poinsettia plant my sweet friend gave me for my birthday.  I wanted the middle to be authentic (because that's how I roll) and have the tiny yellow flowers that real poinsettias have amongst their red and green leaves.  But, I didn't have any yellow beads.  So, dear readers, you know what I used?  I used a pair of pliers to cut the heads off of some of my sewing pins and then I hot glued them to the flower.  Yep.  I'm a little nuts.  But, hey, they look cute, right?  Mission accomplished.

Friday, May 13, 2011

Flower Hairclip Tutorial

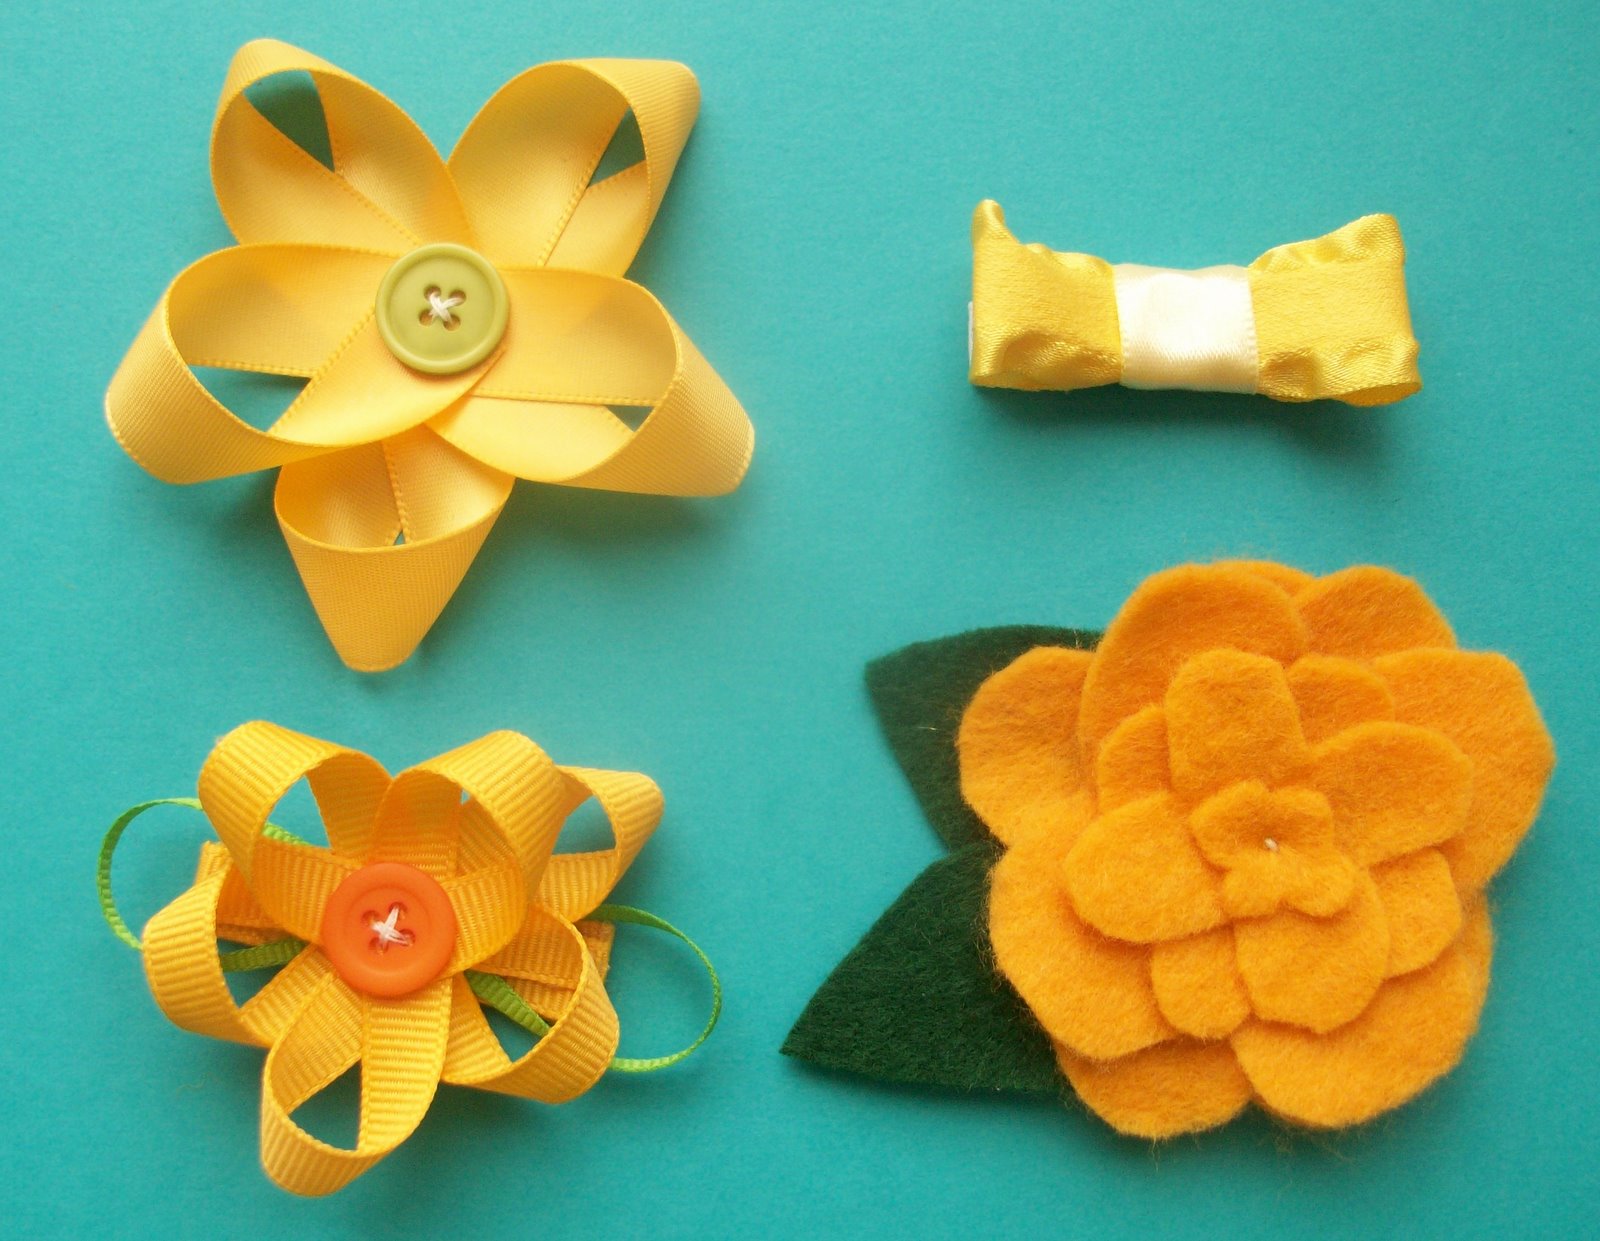
My sister asked me to make my niece a few hairclips to go with her Easter Dress. Here's what I came up with:
She chose to wear the felt one.  Here is my sweet niece modeling the clip for me in a field of tulips:
Now, being a mom of only boys, I'm rather new to hairclips.  While getting ideas for the clips, I saw some ribbon flowers in the notions section at the fabric store, and thought I'd try to figure out how to make some like that out of my own ribbon.  Perhaps this is old news to you ladies out there who have little girls, but it's new to me.  :) 

This is the clip we'll be making today:
You'll need:
1 narrow green ribbon
1 medium grosgrain ribbon in your desired color
1 button
Needle and Thread
Hair clip

I’m sure you could use hot glue for this tutorial, but I found it to be easier with needle and thread.

1. Poke your needle through the end of your green ribbon.
2. Loop ribbon around to make a leaf shape, push needle through second layer.
3. Repeat on other side
4. Repeat steps 1 though 3 with the wider ribbon.


5. Keep adding loops until you like the look of your flower. I made 5 loops.
6. Add your button to the center of your flower. Sew button on, through all layers of ribbon.  Clip off any extra ribbon.
7. Cover your hair clip with ribbon, using hot glue.
8. You’re done! Now you have a cute hairbow for a sweet little girl in your life.


Sunday, March 6, 2011

Hairbow Picture Frame

I've got a houseful of boys at my house, but no girls.  I get my girl fix by crafting for my neices.  I made this cute hair bow holder for my sister's oldest girl. 
It started out as this:
 
I picked it up at Goodwill for around $1.  I actually kind of love the painting.  I kept it around in case I find a use for it (and I scanned it, too).  The frame was perfect because it was an ornate style, like I was looking for, but not heavy at all (it's molded plastic). 
I primed it with a paint designed to stick well to plastic, and then painted it this pretty blue to go with her bedroom.  Her room is painted a light green with coral accents, and a few light blue accents.  I had a hard time finding coral ribbon.  I found this skinny coral ribbon, though, so I put two strips of the skinny ribbon next to each other to make it look like wider ribbon.  The ribbon is hot-glued to the back of the frame. 
It was an easy project, and very fun to make.  I love the result. 
Related Posts Plugin for WordPress, Blogger...