ModCloth's Fair and Lemon Square dress has been on my wish list for a long time. It's adorable. It's my favorite color. And, its $75 price tag is out of my budget. So, I decided to try my hand at making it myself.
Here's how I did it. First, since patterns aren't allowed in the So You Think You Can Sew competition, I spent quite a bit of time drafting my own pattern. I'm so glad I bought a french curve awhile back! It was so helpful in drawing the right lines and curves. I went through a few drafts (especially while trying to figure out how to work the darts) and fit my drafts to my dress form to make sure I was on the right track. I used my three year old's finger painting paper--it was the perfect size! After several tries, I finally ended up with a usable pattern.
The bodice front (left) and bodice back (right).
The collar:
The sleeve:
I used a pretty yellow cotton sateen as my fabric, about 4 yards. I cut the bodice front out, with the straight side (middle) on the fold. (I cut two, since I lined the bodice. All of my instructions for the bodice are the same as the lining; you just do everything twice, so you basically have two bodices that you will put together later on.)
I marked the darts with pins.
I matched up the pins and sewed the dart, making sure to leave extra thread at the point of the dart so I could tie a knot and avoid the bulk that back-stitching would have made.
I then pressed the darts.
For the back, I cut two (4 if you count the lining) of my back bodice pattern. I marked the darts in the same way, sewed, and pressed.
I then, with right sides together, sewed the bodice back to the bodice front. I pinned and sewed at the sides:
And at the shoulders:
Then I pressed my seams open:
Here's what I ended up with:
I cut a waistband out of my favorite white cotton: Walmart's Teeshot cotton. The waistband measured 34 inches by 3 inches. I added some medium weight iron-on interfacing to it (but not to the one for the lining). Then, I pinned (right sides together, again) it to the bodice and sewed it on (nearly all of my seams were sewed with 5/8 inch seam allowance).
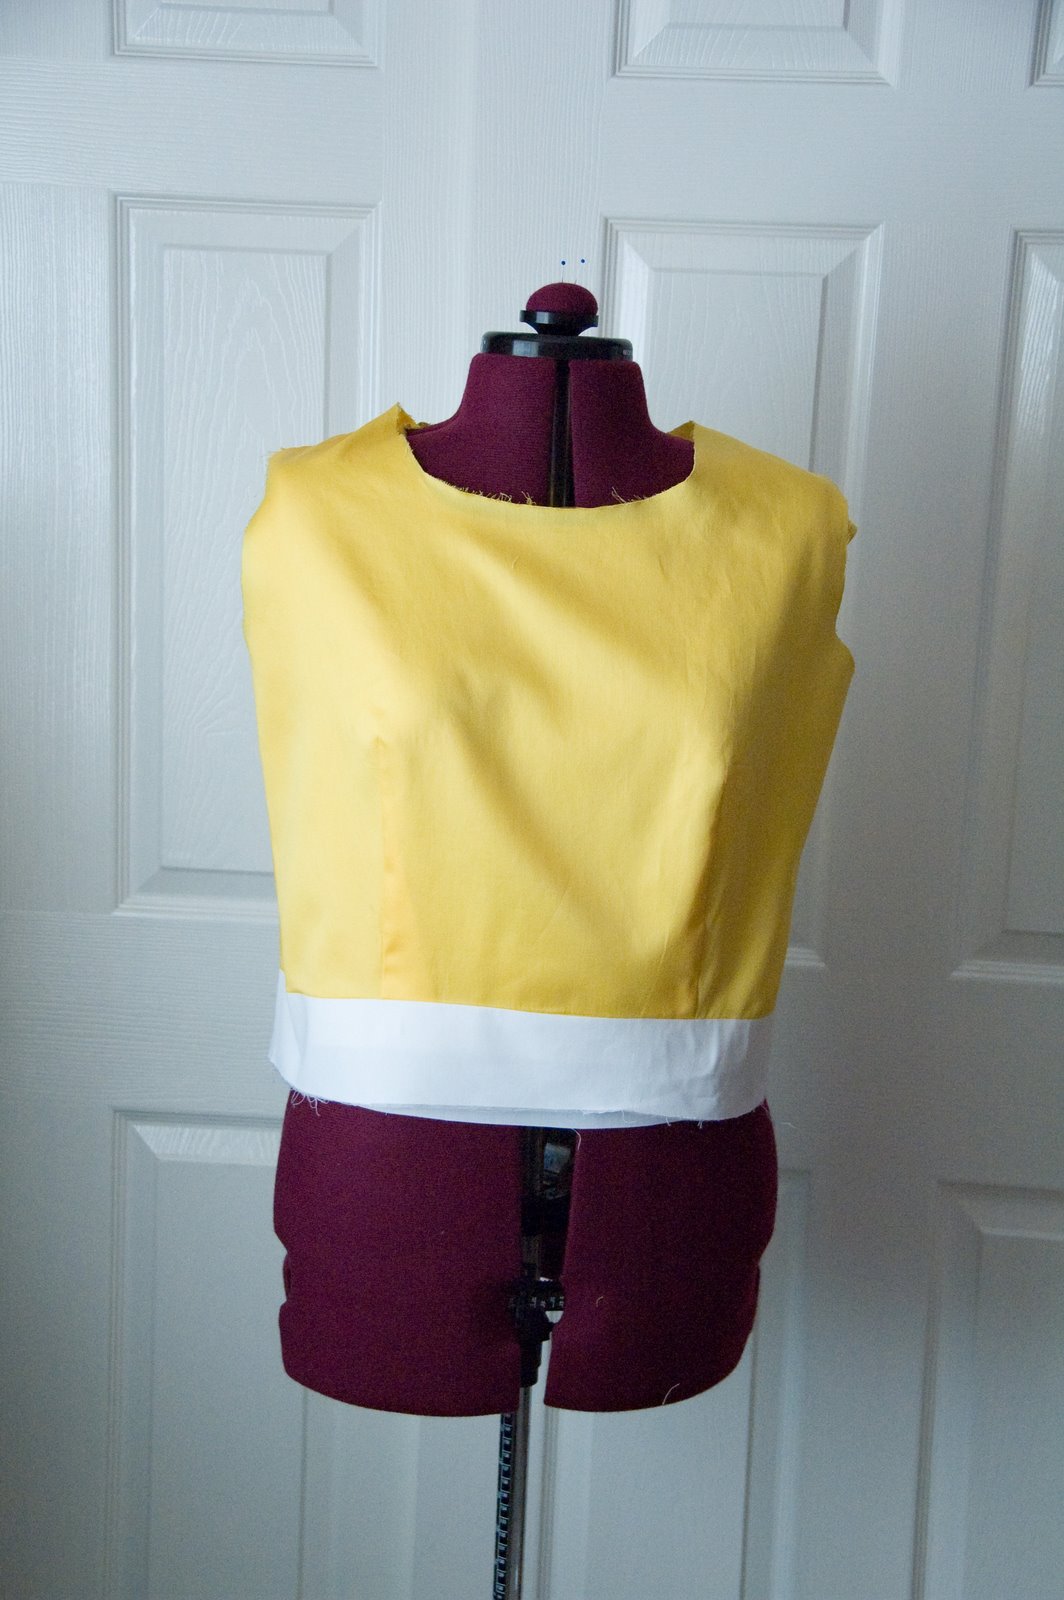
Once the waistband was attached, I pressed it open. Here you can see the bodice and waistband layered over its lining on my dress form:
At this point, I added part of my zipper (a 22 inch invisible zipper). Ordinarily, I'd wait until the skirt was attached, but I wanted to try it on before I got too far to make sure my fit was working out okay. After the zipper was attached (just follow the instructions on the package) I pressed the seams.
Next, I cut out the skirt. The front of the skirt was 31 x 25 inches.
I cut two of the skirt back so I'd have a center seam for the zipper to go in. The skirt backs were each 17 x 25 inches.
I sewed the skirt backs to either side of the the skirt front (and pressed open the seams).

Using the largest stitch length on my machine, I machine basted the top of the skirt.
Using the basting, I pulled and gathered the skirt. I matched the side seams on the skirt to the side seams on the bodice and evenly distributed the gathers between the seams. I then pinned the gathered skirt to the waistband (as always, right sides together).
Here's how it's looking so far:
Next, I made the collar. I cut out four collar pieces and covered two of them with fusible interfacing.
I pinned each interfaced piece to an un-interfaced piece (right sides together). I stitched around the sides and bottom of each collar piece. I clipped the corners and curves before turning. I pressed the collar (being sure to poke out the corners before pressing). I then top-stitched around the sides and bottom of the collar.
I pinned the collar where I wanted it on the bodice.
And then, this is where we'll use the lining. Up to this point, the lining should be exactly the same as the bodice, except its waist band doesn't have interfacing and it doesn't have a collar.
Press under the bottom of the lining's waistband 5/8 of an inch.
Place the bodice (complete with pinned-on collar) and the bodice lining right sides together, making sure to line up all seams, edges, and darts. Pin the lining to the bodice at the neckline and stitch together.
After stitching, turn it right sides out and press the neckline.
Press under where the lining meets the zipper and pin it to the zipper. Pin the bottom of the lining to the seam allowance from the skirt. Hand stitch the lining to the zipper and the skirt's seam allowance, so none of your stitches are visible from the outside of the dress.
Now it's time to put some sleeves on the dress. I cut out two of the sleeves, with the straight side on the fold.
I hemmed the bottom of the sleeve (on the left in the above picture) with a narrow hem. Then, I machine basted around the top curve of the sleeve and gathered a little to give a little ease to the sleeve (so I can move my arms!). I sewed the sides of the sleeve together (right sides together) and pressed the seam open.
I matched the sleeve seam to the side seam under the arm hole in the dress and pinned it. I then matched the top of the sleeve to the shoulder seam. I pinned the rest of the slightly-gathered sleeve to the rest of the arm hole in between the two seams.
Sew on the sleeve. Repeat process on the other sleeve.
Turn the sleeve right side out and press the seam.
The last part of the main dress construction is to hem the skirt. I tried on the dress and marked where I wanted my hem to be. I measured, pressed, pinned, and stitched the hem.
Now comes the fun part--putting on the embellishments! I bought some larger buttons to cover with fabric. I used the same teeshot white as the collar and the waistband. I followed the instructions on the package to cover the buttons. It was actually really easy. And it was pretty fun to hear the "snap!" of the back locking in and pulling out a perfect fabric-covered button. Yay!
I centered the top button between the two sides of the collar and sewed it on. I measured where to place the other buttons so they would be evenly spaced and sewed them on, too.
I made the bow for the waistband so quickly that I forgot to measure it. It's around 2x4 inches or so. I cut out two rectangles of the white fabric and interfaced one of them. I stitched them together, right sides together, leaving the end open for turning. I clipped the corners, turned it, and pressed it. I folded in the end left open and stitched it closed, continuing around the edge of the whole rectangle with some decorative top-stitching as well.
I pinched it together in the middle and hand stitched it into a bow shape. I then made a loop of fabric to go around the middle of my bow and hand stitched it on. I stitched it to my waistband and then I was done with my dress!
I'm really loving this dress. I can't wait to get to wear it more (um...it was bitterly cold and windy when my hubby and I took pictures of it yesterday...SO. FREEZING. COLD. So, yeah, this is a spring dress...). :) Its bright yellow and cute details make me happy. :) And, at a fraction of the price of the original (fabric and materials came to around $17, thanks to a 50% off coupon at JoAnn Fabrics!), I'd say it was totally worth it to make it.